A gummed-up carburetor is the reason behind most of the “won’t start after winter” calls small engine shops get every spring, and a fresh rebuild kit runs about $8 to $15 for most single-cylinder mowers. That math matters. Before you pay a shop $75 to $120 to do the same job, know that you can clean carburetor on lawn mower parts yourself in about an hour with a $6 can of carb cleaner and a Sunday afternoon. The bigger question isn’t whether you can do it — it’s whether cleaning alone will actually fix the real problem.
Why Your Mower Carburetor Gets Gummed Up in the First Place
Ethanol-blended gasoline is the main reason carburetors clog, and it happens faster than most owners expect. Ethanol is hygroscopic, meaning it pulls moisture out of the air, and once gas sits for more than 30 days it starts breaking down into a sticky varnish that coats jets and passages.
Most pump gas in the US contains up to 10% ethanol (labeled E10), and that percentage is enough to cause problems in small engines that sit idle for weeks at a time. A car burns through a tank in days. A mower might sit in the garage from October to April with a half-tank of E10 fuel doing nothing but oxidizing.
That varnish doesn’t stay liquid. As the lighter fuel components evaporate, what’s left behind thickens into a shellac-like residue that hardens inside the tiny passages of the carburetor. Once it hardens, spraying cleaner on the outside of an assembled carb won’t touch it — the buildup is inside jets you can’t see without taking the thing apart.
There’s a second culprit worth mentioning: dirty air filters. A clogged filter pulls the fuel mixture rich, deposits more unburned fuel residue into the carb bowl, and speeds up gumming. Cheap fix, often ignored.
Here’s the part most guides skip: cleaning a gummed carburetor doesn’t prevent it from happening again. If you dump the same six-month-old gas back into the tank after the cleaning, you’re just resetting the clock on the same failure.
A carburetor cleaning fixes a symptom. Fuel management fixes the cause. Keep that distinction in mind as you work through the rest of this guide, because the last section covers the habit that actually stops repeat visits.
Tools and Supplies: What You Actually Need Before Starting
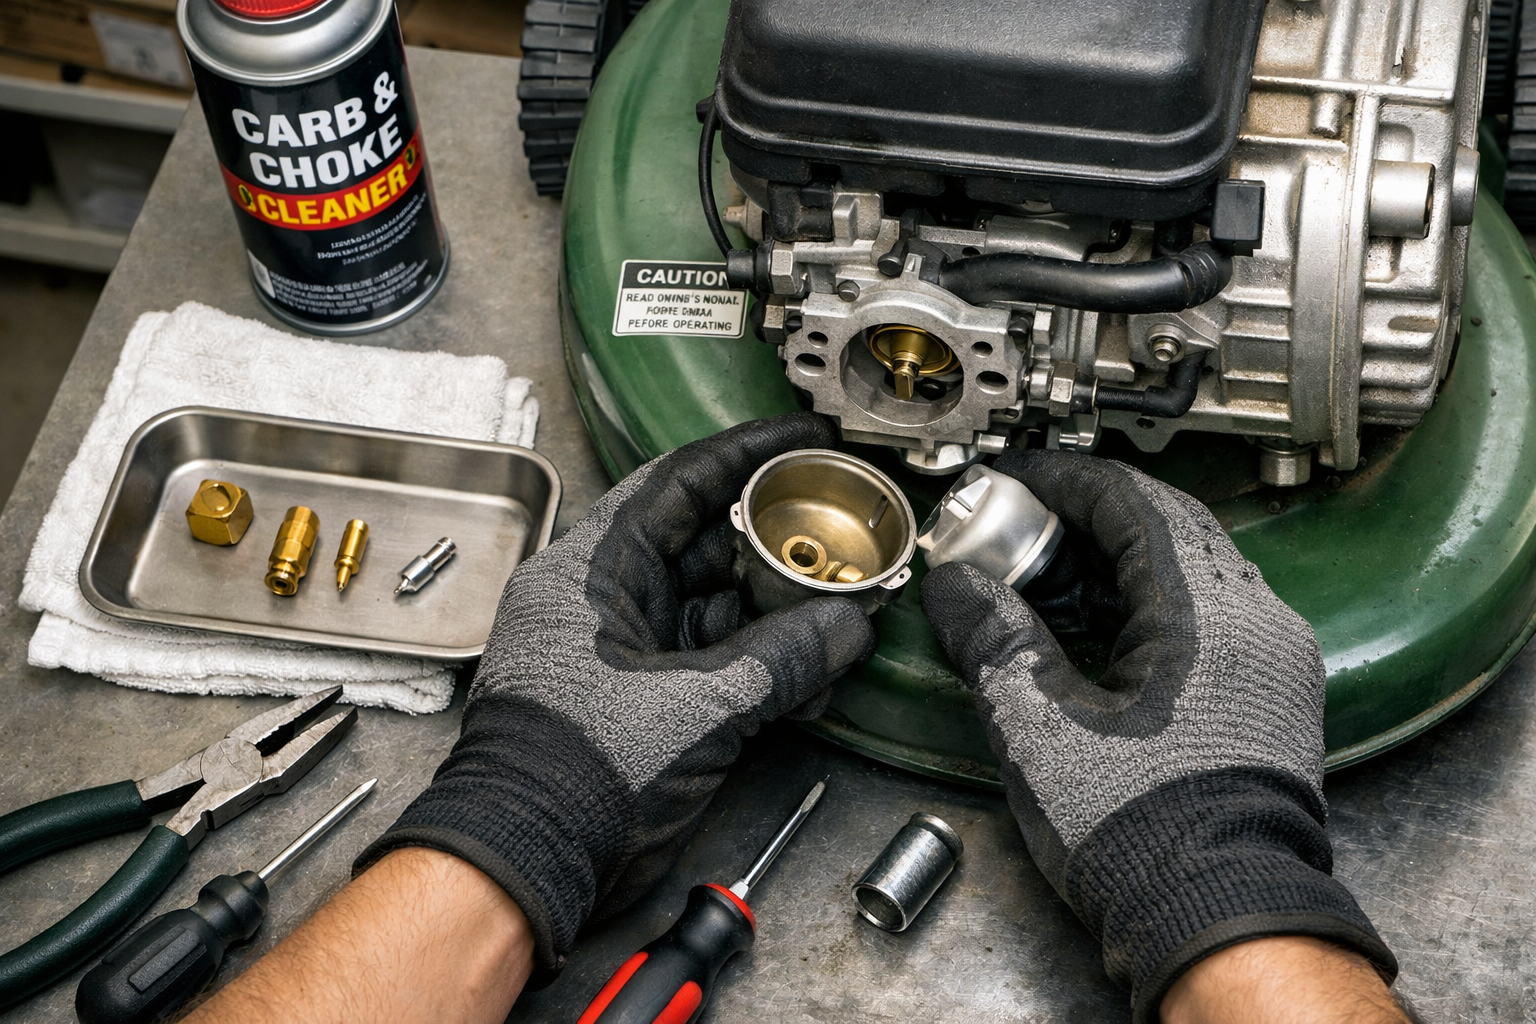
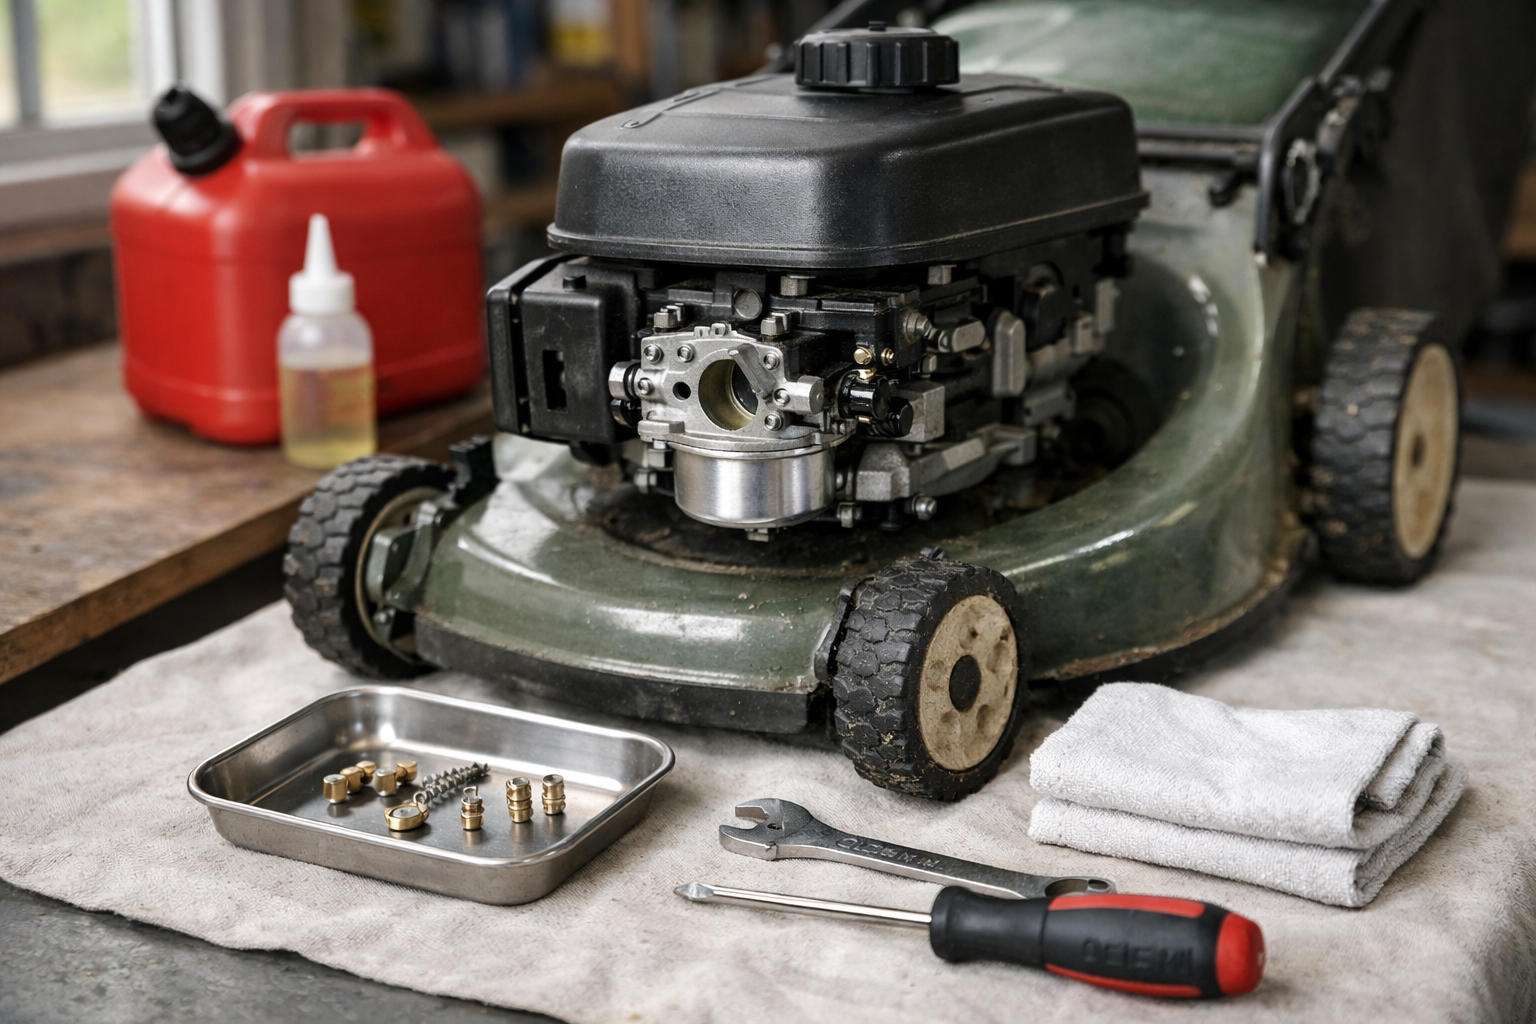
You need six things: aerosol carburetor cleaner, a small flathead and Phillips screwdriver set, a 10mm socket or wrench (most common bowl nut size), a pair of needle-nose pliers, a small parts tray or muffin tin, and a rebuild gasket kit matched to your carburetor model.
Skip the muffin tin at your own risk. Small engine carburetors have between 8 and 15 small parts — screws, springs, a float pin, gaskets — and losing one on a garage floor covered in grass clippings is the single most common reason a DIY carb cleaning turns into a two-week project waiting on a replacement part.
The Cleaner That Actually Matters
Not all carb cleaners are equal. Look for one labeled safe for use on both metal and rubber components if your carburetor has rubber diaphragm parts (common on Briggs & Stratton and Tecumseh small engines). Gumout and Berryman B-12 Chemtool are both widely available and work fine for soaking small jets. Avoid anything that says “for metal parts only” if your carb has a rubber float or diaphragm — it’ll degrade the rubber.
Gasket Kits: Buy Before You Start, Not After
Every time you separate the float bowl from the carburetor body, you disturb the bowl gasket. Reusing an old, compressed gasket is the number one cause of a fuel leak after reassembly. A universal small engine carb gasket kit costs $6 to $12 and typically includes the bowl gasket, needle valve, and sometimes a new float pin — buy one before you start, because stopping mid-job to order a $3 gasket wastes the whole afternoon.
Safety Basics Worth Repeating
Work in a ventilated space — carb cleaner fumes are strong and flammable. Disconnect the spark plug wire before you touch anything on the engine. If your mower has been sitting with fuel in it for months, expect the smell; that’s normal, not a sign something else is wrong.
Step 1: Shut Off Fuel and Remove the Carburetor Correctly
Locate the fuel shutoff valve — usually a small lever at the base of the fuel tank or inline on the fuel hose — and switch it to off before touching anything else. If your mower doesn’t have a shutoff valve, you’ll need to either drain the tank or pinch the fuel line with a small clamp to stop gravity-fed gas from flooding the carb once it’s off.
Photograph everything before you disconnect it. This sounds excessive until you’re staring at three vacuum lines and a throttle spring an hour later trying to remember which hole they came out of.
Remove the air filter housing and set the filter aside (check it while you’re there — replace if it’s dark gray or oil-soaked).
Disconnect the fuel line from the carburetor inlet, letting residual fuel drain into a rag or small container.
Note the exact position of the throttle linkage and choke linkage — a small metal rod or plastic clip connects each to the carburetor’s throttle and choke plates.
Detach the throttle spring and choke linkage carefully with needle-nose pliers; springs are small and prone to launching across the garage.
Remove the two mounting bolts (usually 8mm or 10mm) holding the carburetor to the intake manifold.
Slide the carburetor off the manifold studs and set it in your parts tray.
The linkage step is where most first-timers get stuck on reassembly. The throttle and choke plates connect to the governor system in a specific orientation, and if you don’t note it, the engine may run at the wrong idle speed or surge after you put it back together. A quick phone photo from two angles solves this before it becomes a problem.
Step 2: Disassemble the Float Bowl, Jets, and Needle Valve
This is the step that separates an actual cleaning from a cosmetic wipe-down, and it’s the step most people skip. Spraying cleaner into an assembled carburetor only reaches the outside surfaces and maybe the main throat — it does nothing for the jets, which is where the real clog usually lives.
Opening the Float Bowl
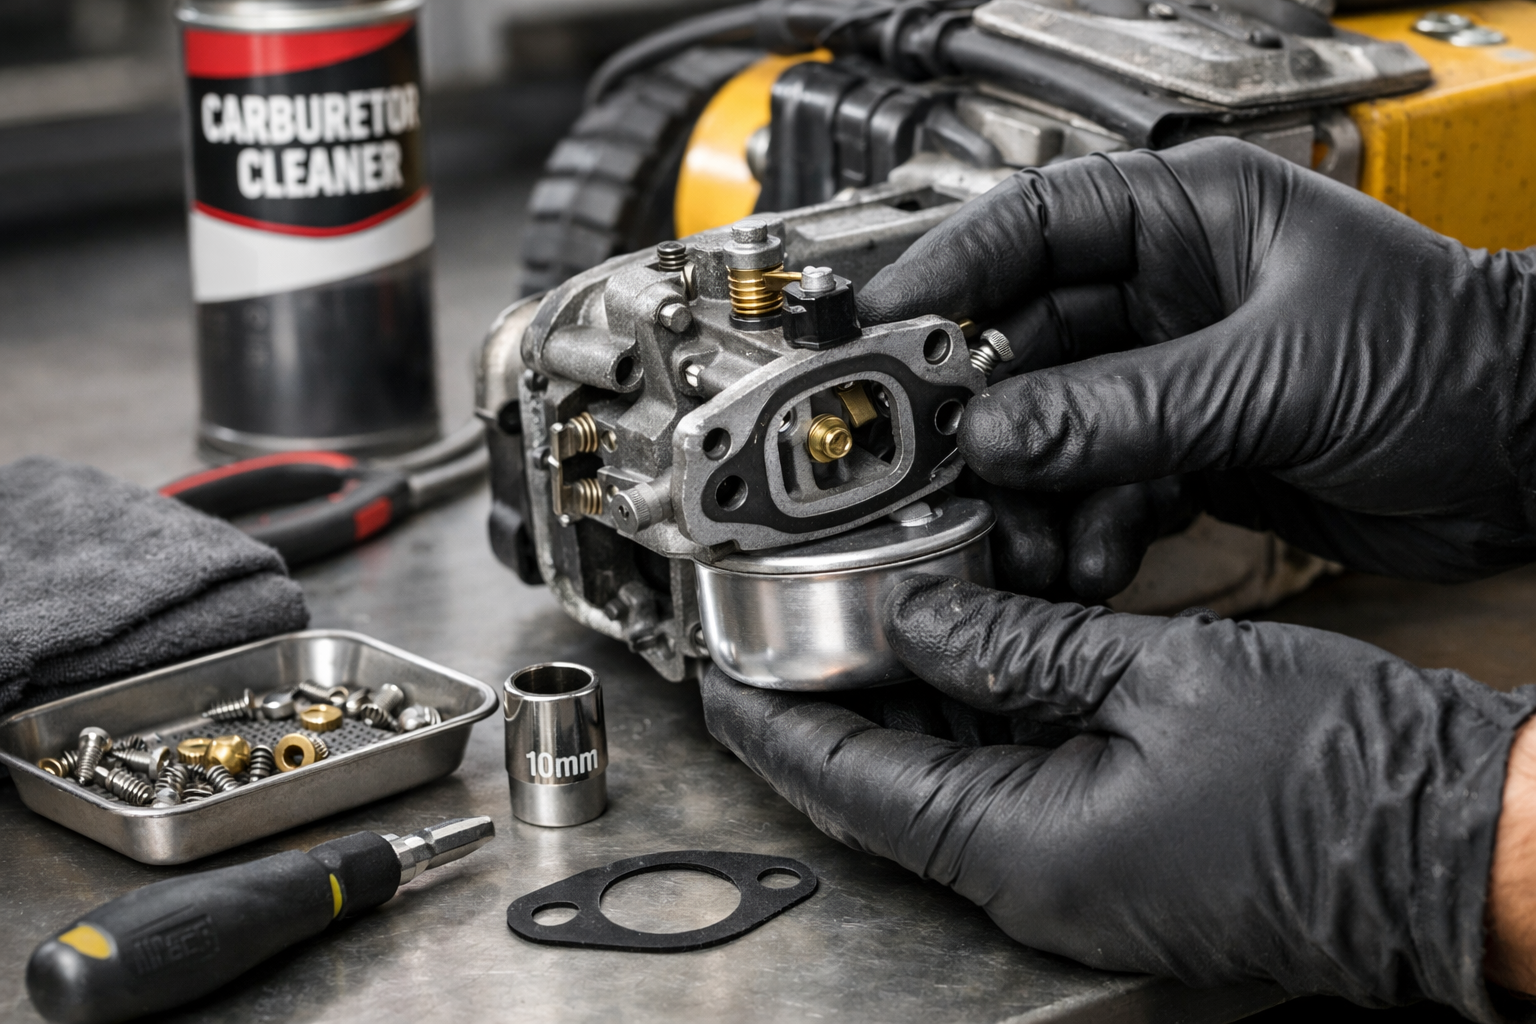
Turn the carburetor upside down and remove the single bolt or nut holding the float bowl in place (this is your 10mm on most Briggs and Tecumseh engines). The bowl itself often has a rubber gasket seated in a groove — check whether it’s brittle, flattened, or torn, because that’s a strong sign it’s due for replacement regardless of how clean the rest of the carb looks.
Inside the bowl, you’ll find the float (a small plastic or brass float, often shaped like a wing), a float pin, and the needle valve that the float pushes against to shut off fuel flow. Push out the float pin with a small punch or the tip of a nail, and the float and needle valve lift out together.
Removing the Main Jet and Idle Jet
This is the part almost every rushed cleaning job misses. The main jet sits in the center post the float bowl bolt threads into — it’s a small brass fitting with a tiny center hole, sometimes as small as 0.02 to 0.04 inches in diameter. The idle jet (sometimes called the pilot jet) is usually located in a separate passage near the throttle plate side of the carburetor body, and it’s even smaller and easier to overlook.
Unscrew both jets with a small flathead screwdriver that fits the slot exactly — a screwdriver that’s slightly too wide will strip the soft brass. Set them in a labeled section of your parts tray. If the idle jet’s passage looks clear from the outside but the mower still idles rough after cleaning, this hidden jet is almost always the reason.
A clogged idle jet is the single most common cause of a mower that starts fine, revs fine, but stalls or surges at idle — even after a “complete” carburetor cleaning.
Step 3: Spray, Soak, and Dry Every Passage
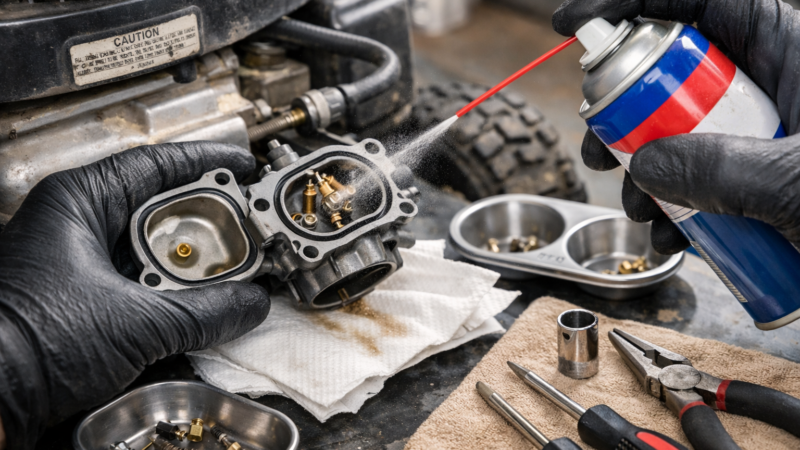
Now the actual cleaning happens. Spray carburetor cleaner through every passage you can see, holding the straw against each jet opening and watching for cleaner to pass all the way through. If it doesn’t come out the other side clearly, that passage is still blocked and needs more work.
Aerosol Spray for Light Buildup
For carburetors that haven’t sat more than one season, aerosol cleaner with the small red straw attachment is usually enough. Spray directly into the main jet, idle jet, and the float bowl seat, holding each part up to the light afterward to confirm you can see clean brass, not gray residue. Use a fine wire (a strand from a stiff wire brush works, or a specific carb cleaning wire kit) to gently probe any jet that still looks partially blocked — never force it, since jets are brass and deform easily.
Soaking for Heavy Varnish
If the carburetor sat with fuel in it for six months or more, aerosol spraying alone often isn’t enough. A carburetor cleaning dip — sold in small cans with a built-in basket — lets you submerge the metal carburetor body (never rubber or plastic parts) for 20 to 30 minutes, dissolving hardened varnish that spray cleaner can’t reach. Berryman Chem-Dip is a common option sold at most auto parts stores for around $15 to $20 a can, and it’s reusable across several cleaning jobs.
After soaking, rinse the parts with clean water or additional aerosol cleaner, then dry everything with compressed air. This step matters more than people think: compressed air, blown through each jet and passage at low pressure, confirms the hole is actually open and pushes out any loosened debris that a visual check would miss. Don’t skip drying with air even if you’re confident the parts look clean — a passage can look clear and still have a hair-thin restriction that only air pressure reveals.
Let every part air-dry fully before reassembly if you used a chemical dip. Trapped cleaner residue inside a jet can affect the fuel mixture the first time you start the engine.
Step 4: Reassemble With the Right Gaskets and Correct Alignment
Reassembly is where careful work early pays off, and it’s where a rushed job creates a leak or a rough-running engine even after a perfect cleaning. Start by installing the new gasket kit components — the bowl gasket, and needle valve if included — rather than reusing old ones.
Reinstalling the Jets and Float
Thread the main jet and idle jet back into their original locations by hand first, then snug with the screwdriver — don’t overtighten, since brass jets strip easily and a stripped jet means buying a whole new carburetor body. Reinstall the float and needle valve, then push the float pin back through.
Check float height once it’s reinstalled. With the carburetor held upside down, the float should sit roughly level with (or very slightly above) the bowl’s mating surface — most small engine spec sheets call for something close to flush, though exact float height varies by carburetor model. A float set too low causes a lean, hard-starting engine; too high causes flooding and a fuel-soaked spark plug.
Bowl Nut Torque and Gasket Seating
Seat the new bowl gasket in its groove before setting the bowl in place, then thread the bowl bolt back in. Hand-tighten, then give it a final quarter turn snug — small engine carb bowl bolts typically don’t need more than 40 to 60 inch-pounds, and overtightening can crack the bowl or distort the gasket seal. If you don’t have a torque wrench for a fitting this small, “snug plus a small nudge” by feel is the practical standard most home mechanics use.
Reconnecting Linkage in the Correct Position
This is where those earlier photos pay off. Reinstall the carburetor onto the manifold studs, then reconnect the throttle linkage and choke linkage exactly where they were — a linkage installed backward or on the wrong post can cause the engine to run at full throttle constantly or refuse to idle down at all. Reconnect the fuel line, reinstall the air filter, and turn the fuel shutoff valve back to on.
When Cleaning Isn’t Enough: The $15 Replacement Threshold
Here’s the reality check most cleaning guides skip: sometimes the smarter move is not to clean the carburetor at all. A generic small engine carburetor for most walk-behind mowers costs $12 to $25 online, and for many single-cylinder Briggs & Stratton or Tecumseh engines, a direct-fit aftermarket replacement runs under $20.
Compare that to your time. A careful first-time cleaning takes an hour to ninety minutes. If you’ve already cleaned a carburetor once this season and it’s gummed up again within a few weeks, the float or needle valve seat may be worn beyond what cleaning can fix, and a new part solves it faster than a second teardown.
Situation
Recommended Action
Approx. Cost
First-time gumming, mower under 5 years old
Clean and rebuild kit
$8-$15
Repeat clog within weeks of cleaning
Replace carburetor
$12-$25
Cracked bowl, stripped jet threads, bent float
Replace carburetor
$12-$25
Corroded metal or heavy pitting inside bowl
Replace carburetor
$15-$25
Mower over 10 years old, multiple issues
Replace carburetor (often cheaper than parts)
$15-$25
The break-even point is simple: if buying a gasket kit plus your time equals more hassle than a $15 part that ships in two days, replace it. There’s no mechanical badge of honor in rebuilding a corroded carburetor when a new one costs less than a tank of gas for your truck.
One more scenario worth naming: if the float bowl threads are stripped, or the float itself is cracked and taking on fuel (shake it — if you hear liquid sloshing inside a float that should be sealed, it’s compromised), no amount of cleaning fixes that. Replace it.
Stop the Repeat Clog: Fuel Storage Habits That Actually Work
A clean carburetor that gets fed the same stale ethanol gas will gum up again within one to three months of sitting — that’s the real lesson buried in most of these repair jobs. The fix isn’t a better cleaning technique. It’s changing what goes in the tank and how long it sits there.
Fuel Stabilizer and the 30-Day Rule
If gas will sit in the tank for more than 30 days, add a fuel stabilizer (products like Sta-Bil are common and cost around $8 to $10 a bottle) at the recommended ratio, typically about 1 ounce per gallon. Stabilizer slows the oxidation process that turns fresh gas into varnish, though it doesn’t stop it indefinitely — six months to a year is a realistic upper limit even with stabilizer added.
Better yet, buy ethanol-free gas if it’s available near you — many gas stations carry a 90-octane ethanol-free option specifically marketed for small engines, marinas, and outdoor power equipment. It costs more per gallon, often $1 to $2 more, but for a mower that only burns 10 to 15 gallons a season, that’s a small premium against a repeat carburetor cleaning.
Draining Versus Running Dry Before Storage
For seasonal storage, you have two real options: drain the tank completely, or run the engine until it stalls out from fuel starvation, which clears most gas from the carburetor bowl. Running dry is easier for most homeowners and takes less time than a full drain. Neither method is perfect, but both beat leaving a full tank of ethanol gas sitting untouched from October through April.
Fuel Filter: The Part Everyone Forgets to Check
While you’re addressing fuel quality, check the inline fuel filter — it’s a small, often clear plastic canister sitting in the fuel line. A fuel filter clogged with sediment or varnish restricts flow to the carburetor even after a perfect cleaning, and it’s a $3 to $5 part that most owners never think to inspect. Replace it any time you’re doing carburetor work; there’s no reason to reassemble everything and skip a part that cheap.
If you want a deeper dive on seasonal storage schedules and which stabilizer products hold up best over a full winter, themowersguide.com has additional guides that go further into month-by-month fuel and engine prep. But the core habit is simple enough to remember without a checklist: don’t let ethanol gas sit in a small engine for months at a time, and the carburetor you just cleaned will likely stay clean.
Frequently Asked Questions
How often should I clean my lawn mower carburetor?
Only when it’s showing symptoms — hard starting, rough idle, stalling, or surging. There’s no fixed schedule; a mower run on fresh gas and drained or stabilized for storage might never need a cleaning beyond normal maintenance.
Can I clean a carburetor without removing it from the mower?
You can spray the exterior and throat, but you can’t reach the main jet, idle jet, or float bowl interior this way. For anything beyond very light buildup, removing the carburetor is the only way to actually clear hardened passages.
Why does my mower still idle rough after I cleaned the carburetor?
The idle jet (pilot jet) is the most commonly missed passage, since it’s smaller and less visible than the main jet. A gasket that seated wrong or a float set at the wrong height can also cause a rough idle even after cleaning.
Is it cheaper to clean or replace a small engine carburetor?
Cleaning costs $8 to $15 for a gasket kit and an hour of labor; a full replacement carburetor runs $12 to $25. If it’s your first cleaning, clean it — if it clogs again within weeks, replace it instead.
I’ve been searching for the best lawn mower for my home. My team has tested over 20 top-rated lawn mower brands. We’ve tried walk-behind, riding, electric, and robotic mowers on yards...
The right mower for sloped lawns can make all the difference in keeping your yard looking neat and ensuring a safe mowing experience. I had a really hard time when I...
24 December 2024
The Mowers Guide is reader-supported. When you buy through links on our site, we may earn an affiliate commission.





Comments are closed.