A slit seeder rental runs about $70 to $100 for a half-day at most equipment centers, while a decent broadcast spreader costs $40 to $60 and lasts a decade. That gap matters, because the grass seeder you actually need depends far more on your lawn’s condition than on how much gear you’re willing to buy. Most homeowners overspend on equipment they’ll use once a year.
This guide breaks down which seeder type fits which job, how to set one up so seed actually germinates, and when renting beats owning outright.
What Exactly Is a Grass Seeder, and Do You Even Need One?
A grass seeder is any tool that distributes grass seed across soil, ranging from a $15 hand-crank shaker to a $3,000 tow-behind unit with tines that cut slits into the ground. Not every lawn job needs the same one. The right choice depends on whether you’re patching bare spots, overseeding a thinning lawn, or starting from bare dirt.
For small bare patches, under 200 square feet, you often don’t need a dedicated seeder at all. A hand spreader or even a coffee can with holes punched in the lid gets seed down fine, as long as you rake the area first and press the seed in afterward. The tool matters less than the soil prep.
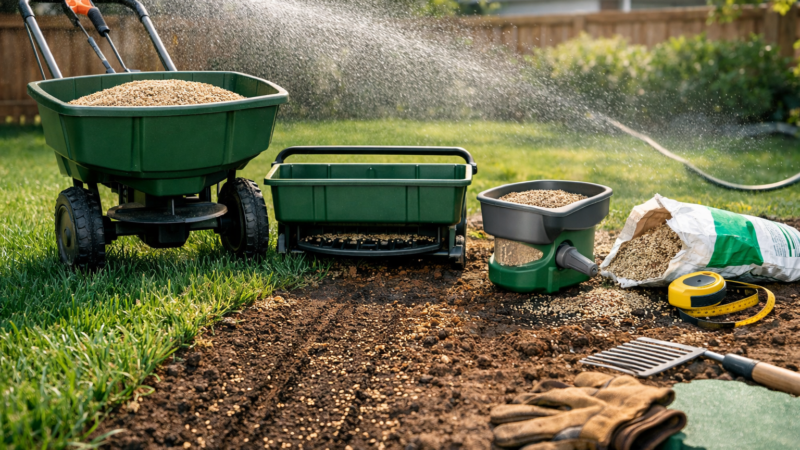
Overseeding an entire lawn, meaning spreading seed over existing turf to thicken it, is where the equipment choice starts to matter. A broadcast spreader throws seed in a fan pattern and covers ground fast, but it doesn’t create the soil contact new seed needs to germinate well. A slit seeder, sometimes called a power seeder or overseeder, cuts small grooves into the soil and drops seed directly into them.
New lawn establishment, starting from scratch on bare dirt, is the most demanding scenario. Here you’re not fighting existing grass for root space, so a broadcast or drop spreader across tilled soil, followed by a light rake pass, generally works. You don’t need a slit seeder for a lawn that has no turf to cut through.
The biggest mistake I see is treating every seeding job the same way. A spreader that’s perfect for overseeding a healthy lawn with thin spots is nearly useless for filling a bare patch where the topsoil has compacted. Matching the tool to the job saves both money and a wasted bag of seed.
Here’s a rough gut check: if your lawn is mostly full and green with a few thin areas, you’re overseeding. If more than 30% of it is bare dirt or dead grass, you’re closer to a full renovation, and the equipment plan changes accordingly.
Broadcast Spreader vs. Drop Spreader: Which Covers Ground Better?
A broadcast spreader flings seed outward in a wide arc, covering 6 to 10 feet per pass, while a drop spreader releases seed straight down in a narrow band directly beneath the hopper, usually 18 to 24 inches wide. Broadcast spreaders cover ground faster; drop spreaders are more precise.
Broadcast Spreaders: Speed Over Precision
Broadcast spreaders are the workhorses for lawns over a quarter acre. Because they throw seed in a fan shape, you cover more square footage per pass, which matters when you’re pushing a spreader across 8,000 or 10,000 square feet of yard. The tradeoff is overlap and edge control. Seed can land in flower beds, on the driveway, or in a neighbor’s yard if you’re not careful near property lines.
Most broadcast spreaders sold for homeowner use, including Scotts and Earthway models, run $30 to $80 for push versions and handle both seed and granular fertilizer. That dual-purpose design is part of why they’re so common in garages already.
Drop Spreaders: Better for Tight Spaces
Drop spreaders shine near sidewalks, garden borders, and small lawns where overspray would waste seed or create bare-then-thick striping. The seed only falls where the hopper sits, so there’s no risk of it landing where you don’t want it.
The catch is coverage speed. A drop spreader takes noticeably longer to cover the same area, and if you don’t overlap your passes correctly, you’ll get visible strips where seed rate is too light or too heavy. For a lawn under 3,000 square feet with lots of edges, a drop spreader is often worth the slower pace.
Neither of these tools creates soil contact on their own. That’s a separate step, and skipping it is one of the most common reasons overseeding fails to take.
Slit Seeders and Tow-Behind Units: When Soil Contact Justifies the Extra Cost
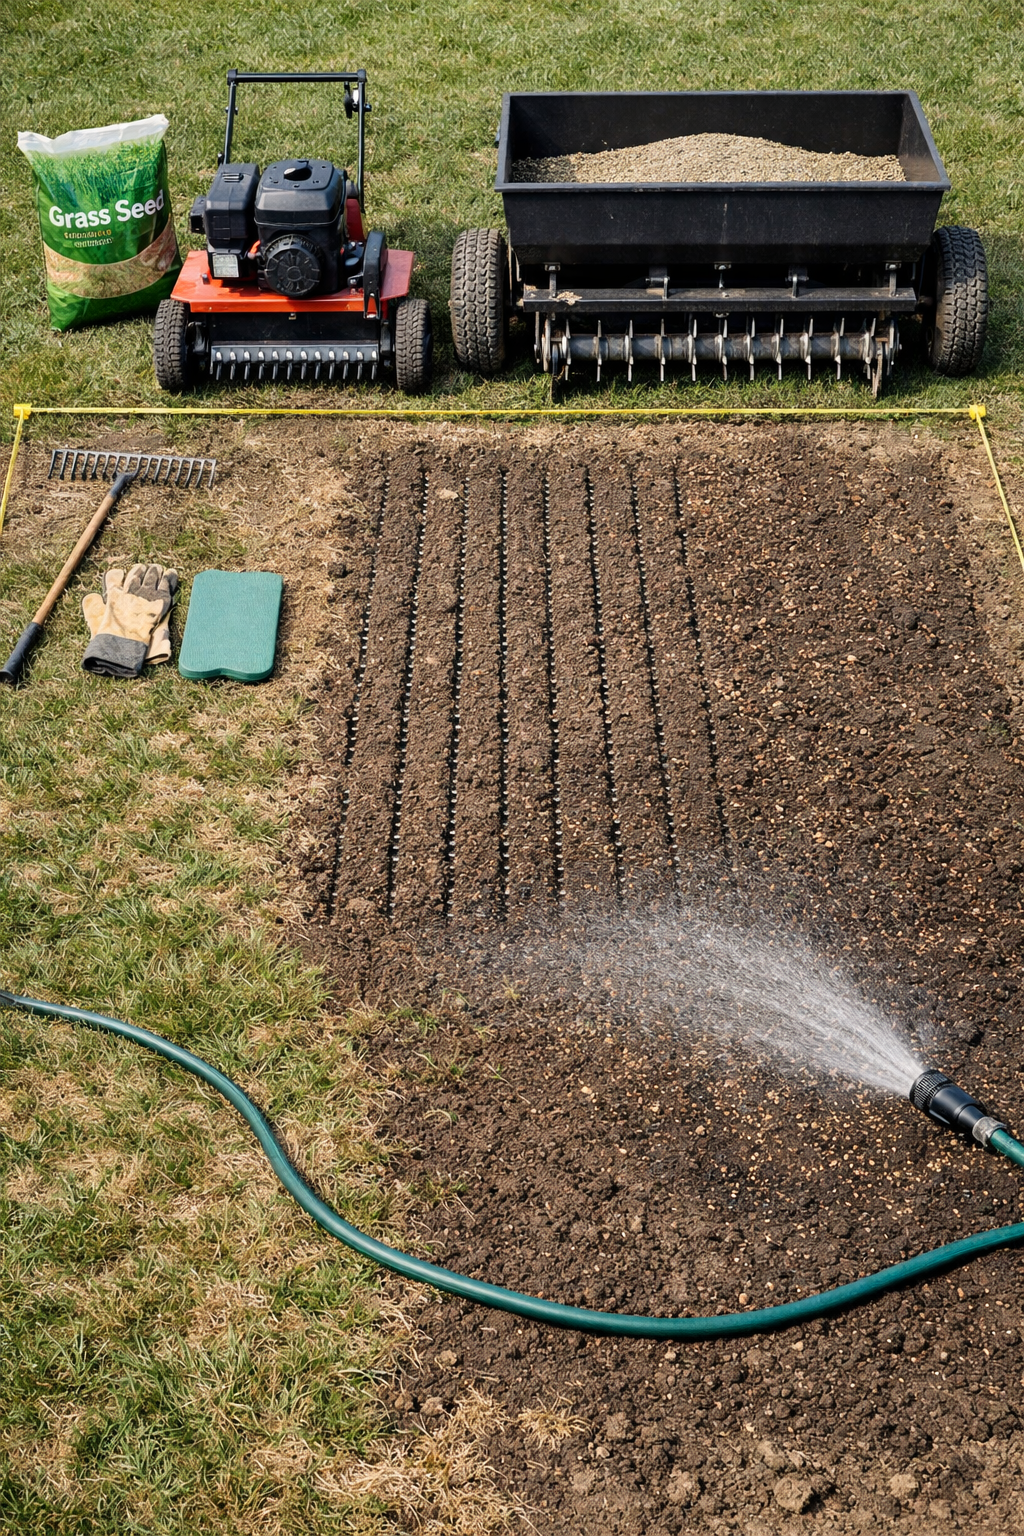
A slit seeder cuts narrow grooves into your lawn’s soil and drops seed directly into them, which raises germination rates dramatically compared to seed just resting on top of thatch or compacted dirt. This matters most when overseeding an existing lawn, where grass and thatch block seed from reaching bare soil.
Seed-to-soil contact refers to how much of a seed’s surface touches bare, workable soil rather than sitting on grass blades, thatch, or mulch. Seed without this contact dries out fast and rarely germinates, regardless of watering.
This is the single biggest reason broadcast overseeding on an established lawn often disappoints people. You can spread a full 50-pound bag of seed across a thick lawn and get thin, patchy results, not because the seed was bad, but because most of it never touched dirt.
Walk-Behind Slit Seeders
A walk-behind slit seeder, sometimes marketed as a power seeder, looks similar to a push mower but has spring-loaded tines or blades that slice into turf as you push it forward. These machines run on gas engines, typically 140cc to 190cc, similar to a mid-range push mower.
Buying one new costs $600 to $1,500 depending on brand and cutting width, which is usually 18 to 20 inches. That’s a real expense for a tool most homeowners use once a year, if that. Rental costs run far lower, usually $70 to $100 for a four-hour block at home improvement rental counters or independent equipment rental shops.
Tow-Behind Seeders for Tractors
Tow-behind seeders attach to a riding mower or lawn tractor and combine a hopper with a set of disc blades or tines that open the soil ahead of the seed drop. These are built for lawns over half an acre, sometimes up to several acres, where walking a push unit would take hours.
Prices for tow-behind units start around $250 for basic models and climb past $1,000 for units with adjustable seed rate settings and multiple hopper compartments. If you’re already running a riding mower on a large property, this can make sense as a long-term purchase. On a standard quarter-acre suburban lot, it’s overkill, and the extra weight can tear up turf you’re trying to repair.
Renting vs. Buying: The Math Most Buying Guides Skip
For lawns under half an acre, renting a slit seeder for a weekend costs less and makes more practical sense than buying one outright. Most residential lawns get seeded once a year at most, sometimes once every two or three years, which means an owned machine sits idle 350+ days a year.
Run the numbers on a typical quarter-acre lot. A weekend slit seeder rental costs roughly $70 to $100, plus maybe $10 in gas. Compare that to a $700 walk-behind slit seeder that needs winter storage, annual blade sharpening, and carburetor maintenance if it sits unused for months at a time. Unless you’re seeding multiple properties or doing this professionally, the rental wins on cost within the first year and every year after.
Here’s how the common options stack up on upfront cost and practical fit for a typical residential yard:
Seeder Type
Typical Cost
Best Lawn Size
Creates Soil Contact
Hand-crank spreader
$15–$30
Under 1,000 sq ft, spot repairs
No
Broadcast spreader
$30–$80
Any size, especially over ¼ acre
No
Drop spreader
$40–$90
Under 5,000 sq ft, tight edges
No
Slit seeder (rental)
$70–$100/weekend
Up to ½ acre
Yes
Slit seeder (purchase)
$600–$1,500
Repeated annual use, larger lots
Yes
Tow-behind seeder
$250–$1,000+
½ acre and up, tractor owners
Yes
Ownership starts to pencil out when you’re maintaining more than one property, running a small lawn care side business, or you have over an acre that needs seeding on a predictable schedule. Outside of that, I’d rent. The Mowers Guide’s own lawn overseeding maintenance guides walk through seasonal timing if you want to line up your rental weekend with the right window for your grass type.
The Hidden Cost of Owning and Not Using
A seeder that sits in the garage for eleven months doesn’t just cost you the purchase price. Gas goes stale in the tank, tines rust if they’re not cleaned and dried after use, and cables or belts can dry-rot on machines stored in unheated spaces. When you finally pull it out next fall, there’s a real chance you’re troubleshooting a machine instead of seeding a lawn.
Rental equipment, by contrast, gets serviced between uses by the rental company. You show up, it starts, you use it, you return it. That’s a maintenance headache you’re paying someone else to handle.
Calibrating Your Seeder Settings by Seed Type and Size
Seeder settings need to match the seed you’re using, because seed size varies enormously between grass species and an uncalibrated spreader either wastes seed or leaves bare gaps. Kentucky bluegrass seed is small and light; tall fescue and perennial ryegrass seed is noticeably larger and heavier per volume.
Most spreaders, whether broadcast or drop, have a numbered dial or slide that controls the opening size at the bottom of the hopper. Seed bags almost always print a recommended setting for common spreader brands right on the label, which is the fastest way to get a rough starting point without guesswork.
Why the Wrong Setting Wastes Half a Bag
Set the opening too wide, and you’ll blow through a 25-pound bag of seed covering half the area it should. Set it too narrow, and you’ll walk your entire lawn only to find you’ve barely dispensed a quarter of the bag, leaving thin, patchy coverage.
This is the single most skipped step in DIY overseeding. People assume any setting will do, then wonder why one part of the lawn came in thick and another stayed bare. A five-minute calibration check, running the spreader over a tarp or driveway for a measured distance and weighing what came out, catches this before it becomes a lawn-wide problem.
A Practical Calibration Sequence
Here’s a sequence that works whether you’re using a broadcast spreader, drop spreader, or slit seeder hopper:
Check the seed bag label for the manufacturer’s recommended dial setting for your specific spreader brand, if listed.
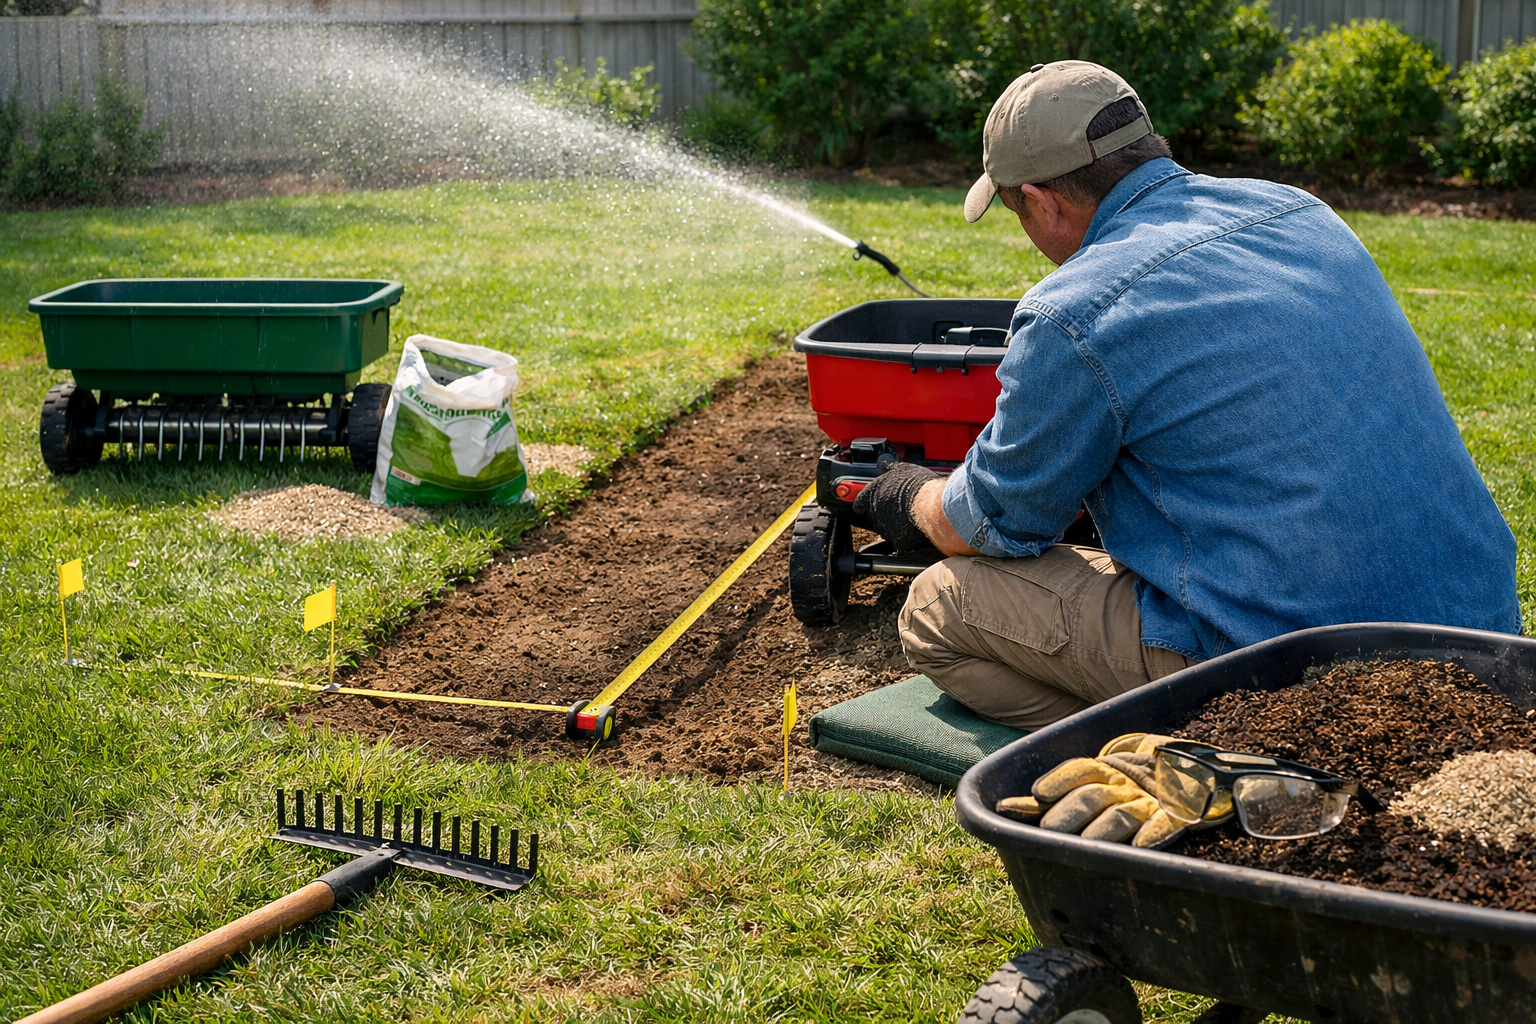
Measure out a known area, such as a 10-foot by 10-foot section of driveway or tarp, and mark the boundaries.
Fill the hopper, weigh it, then push the spreader across the marked area at a normal walking pace using your target dial setting.
Weigh the hopper again and calculate how many ounces or pounds you dispensed over that 100-square-foot section.
Compare that figure against the seed bag’s recommended rate per 1,000 square feet, then adjust the dial up or down accordingly.
Repeat the test once after adjusting to confirm the new setting lands closer to the target rate.
Once you’ve calibrated for one seed type, write the setting down. Seed rates change if you switch grass species next season, so that number isn’t permanent, but it saves you from starting from zero every time.
Matching Lawn Size and Terrain to the Right Tool
Lawn size is the first filter for narrowing down seeder choice, but terrain matters just as much and gets ignored more often. A flat, open half-acre and a hilly, tree-root-heavy quarter-acre call for different equipment even though their square footage might be close.
On flat, open lawns, tow-behind seeders and larger broadcast spreaders move efficiently and cover ground with minimal maneuvering. There’s nothing to weave around, so wider equipment isn’t a liability.
Terrain gets complicated on lawns with slopes over roughly 15 degrees, tight side yards, or lots of trees and garden beds breaking up open space. A tow-behind unit becomes hard to control on a slope, and a wide broadcast spreader wastes seed by throwing it into beds and mulch you don’t want seeded. In those cases, a walk-behind slit seeder or even a hand-crank spreader for the tricky corners, paired with a broadcast spreader for the open middle section, often works better than trying to force one tool to do everything.
Small urban and suburban lots under 5,000 square feet rarely justify anything beyond a hand spreader or basic broadcast spreader. Renting a slit seeder for a lawn that size is still worthwhile if you’re overseeding thick, established turf, since the soil contact issue doesn’t disappear just because the yard is small. Size determines how fast you need to move; it doesn’t determine whether you need soil contact.
Corner lots and lawns split by driveways or walkways add another wrinkle. You end up with several disconnected sections rather than one open area, which favors a lighter, more maneuverable tool over a heavy tow-behind rig you’d need to lift on and off a trailer for each section.
Mistakes That Waste Seed and Time
Several errors show up again and again in DIY seeding projects, and most of them trace back to treating seeding as simpler than it actually is. Catching these before you start saves both seed and a wasted weekend.
Assuming Any Spreader Works Like a Dedicated Seeder
A broadcast spreader that’s great for fertilizer is not automatically good for seeding bare patches. Fertilizer granules don’t need soil contact to work; seed does. Using a spreader alone on bare dirt without raking seed in afterward, or without following up with a roller or hand tamping, leaves seed exposed to birds, wind, and drying out before it ever germinates.
Skipping the Rake or Roller Step
Scattering seed and walking away is the single biggest reason overseeding projects underperform. Seed sitting on the surface, even on bare soil, needs light raking or rolling to press it into the top quarter-inch of dirt. Skip this, and you might see 30% to 40% of expected germination instead of the 70% to 90% you’d get with proper contact, depending on grass species and watering consistency.
Ignoring Seed Size When Setting the Spreader
Running last year’s fescue setting on this year’s bluegrass seed, without rechecking the label, throws off your seed rate every time. Different species vary enough in seed size and weight that a setting dialed in for one won’t match another.
Buying a Tow-Behind Unit for a Small Yard
A heavy tow-behind seeder on a standard 6,000-square-foot residential lot is more machine than the job calls for. It’s harder to maneuver around trees and beds, costs more upfront, and often compacts soil at turns worse than a lighter push unit would. Save that purchase for lawns closer to an acre or more.
Watering Wrong After Seeding
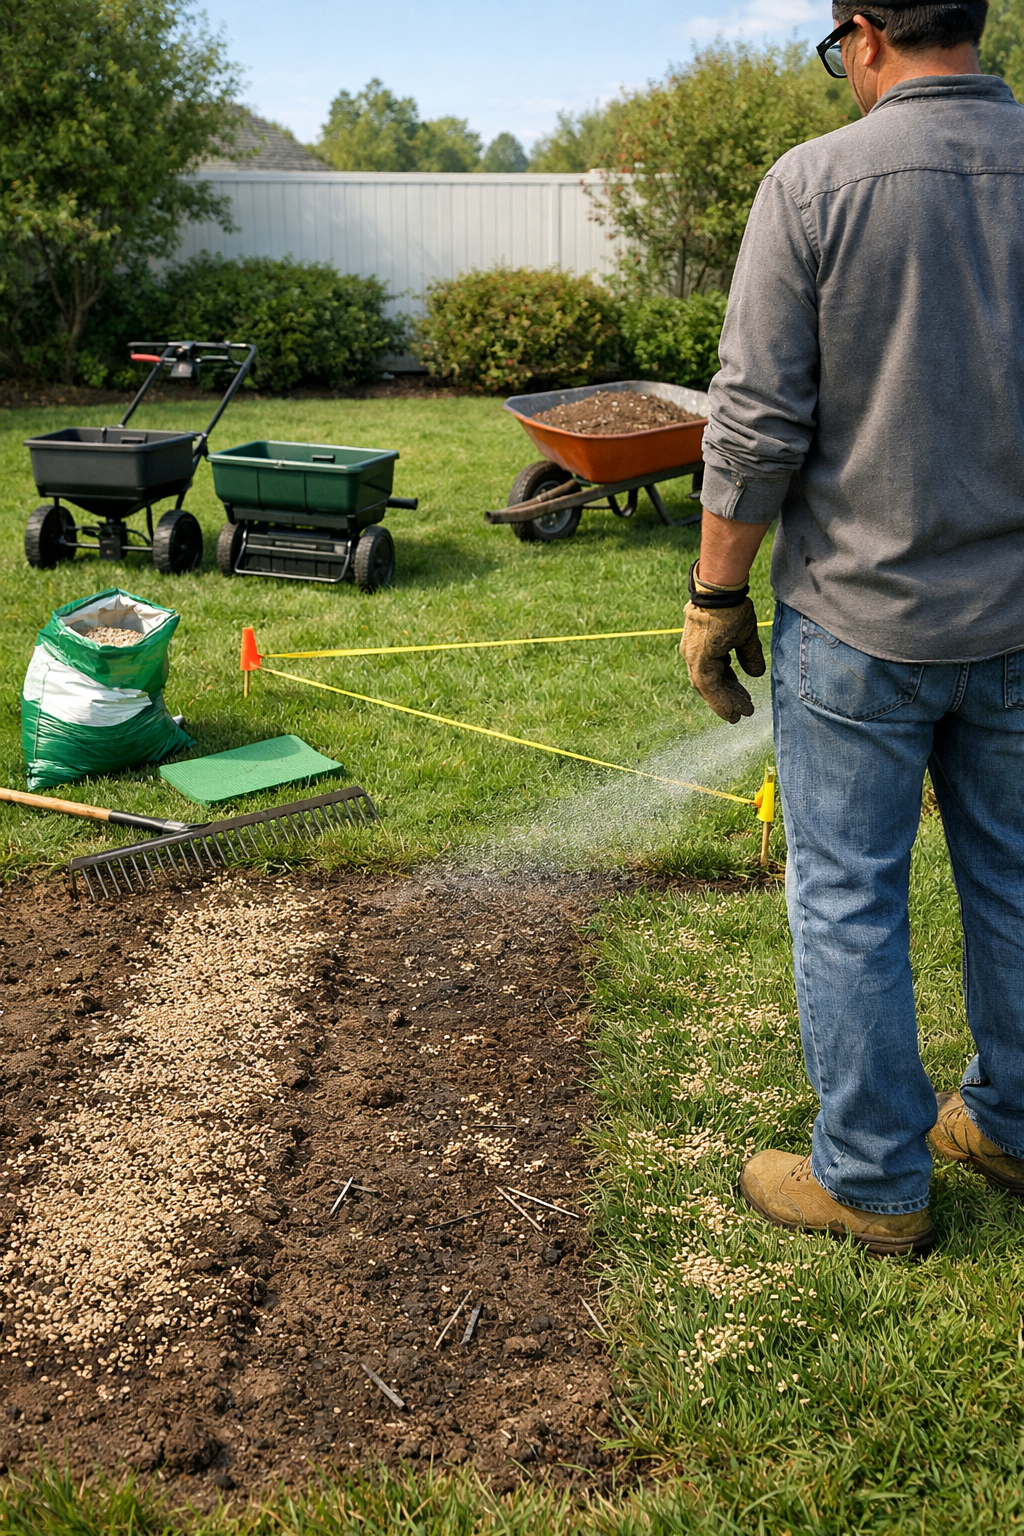
New seed needs light, frequent watering, often twice a day for 10 to 15 minutes, to keep the top layer of soil moist without pooling. Heavy, infrequent watering washes seed out of the slits a seeder just cut, undoing the soil contact you worked to create.
Frequently Asked Questions
Is a slit seeder worth it for overseeding a small backyard?
For a backyard under 5,000 square feet, renting a slit seeder for a weekend, around $70 to $100, is usually worth it if the lawn is thick and established. Skip it for bare patches under 200 square feet; hand raking works fine there.
Can I use a regular fertilizer spreader to plant grass seed?
Yes, a broadcast or drop spreader used for fertilizer works fine for spreading seed, but it won’t create soil contact on its own. Follow up with light raking or rolling, or germination rates drop sharply.
How long does it take to overseed an average lawn?
A quarter-acre lawn typically takes 1 to 2 hours with a broadcast spreader, or 2 to 3 hours with a walk-behind slit seeder, not counting setup, seed calibration, or post-seeding watering adjustments.
What seeder setting should I use for a seed blend with mixed grass types?
Use the setting for the largest seed in the blend, then check coverage with the calibration test described earlier. Blends with tall fescue and bluegrass together often need a setting between the two individual recommendations printed on the bag.
Won’t start? Runs rough, dies at idle, or surges under load? Before you touch the carburetor or drain the fuel tank, pull the spark plug. A fouled plug mimics half the...
Most small engine repair shops report that ethanol-related fuel damage is one of the top reasons mowers won’t start after sitting all winter. That single fact tells you more about picking...
4 August 2026
The Mowers Guide is reader-supported. When you buy through links on our site, we may earn an affiliate commission.





Comments are closed.