That generic diagram you found on Google? It’s probably wrong for your mower. There isn’t one universal craftsman riding mower drive belt diagram — routing depends on your deck size and drivetrain type, and grabbing the wrong picture is exactly why belts fly off within a few hours of a fresh install.
If your deck is already apart and you’re staring at pulleys wondering where the belt goes, don’t guess. The fix isn’t finding “a” diagram online. It’s pulling the exact diagram made for your model number.
Why One Diagram Doesn’t Fit Every Craftsman Mower
Craftsman has sold riding mowers with 42-inch, 46-inch, 48-inch, and 54-inch decks, plus both gear-drive and hydrostatic transmissions. Each combination routes the belt differently around the idler pulleys and pulley brackets.
Deck Size Changes Pulley Spacing
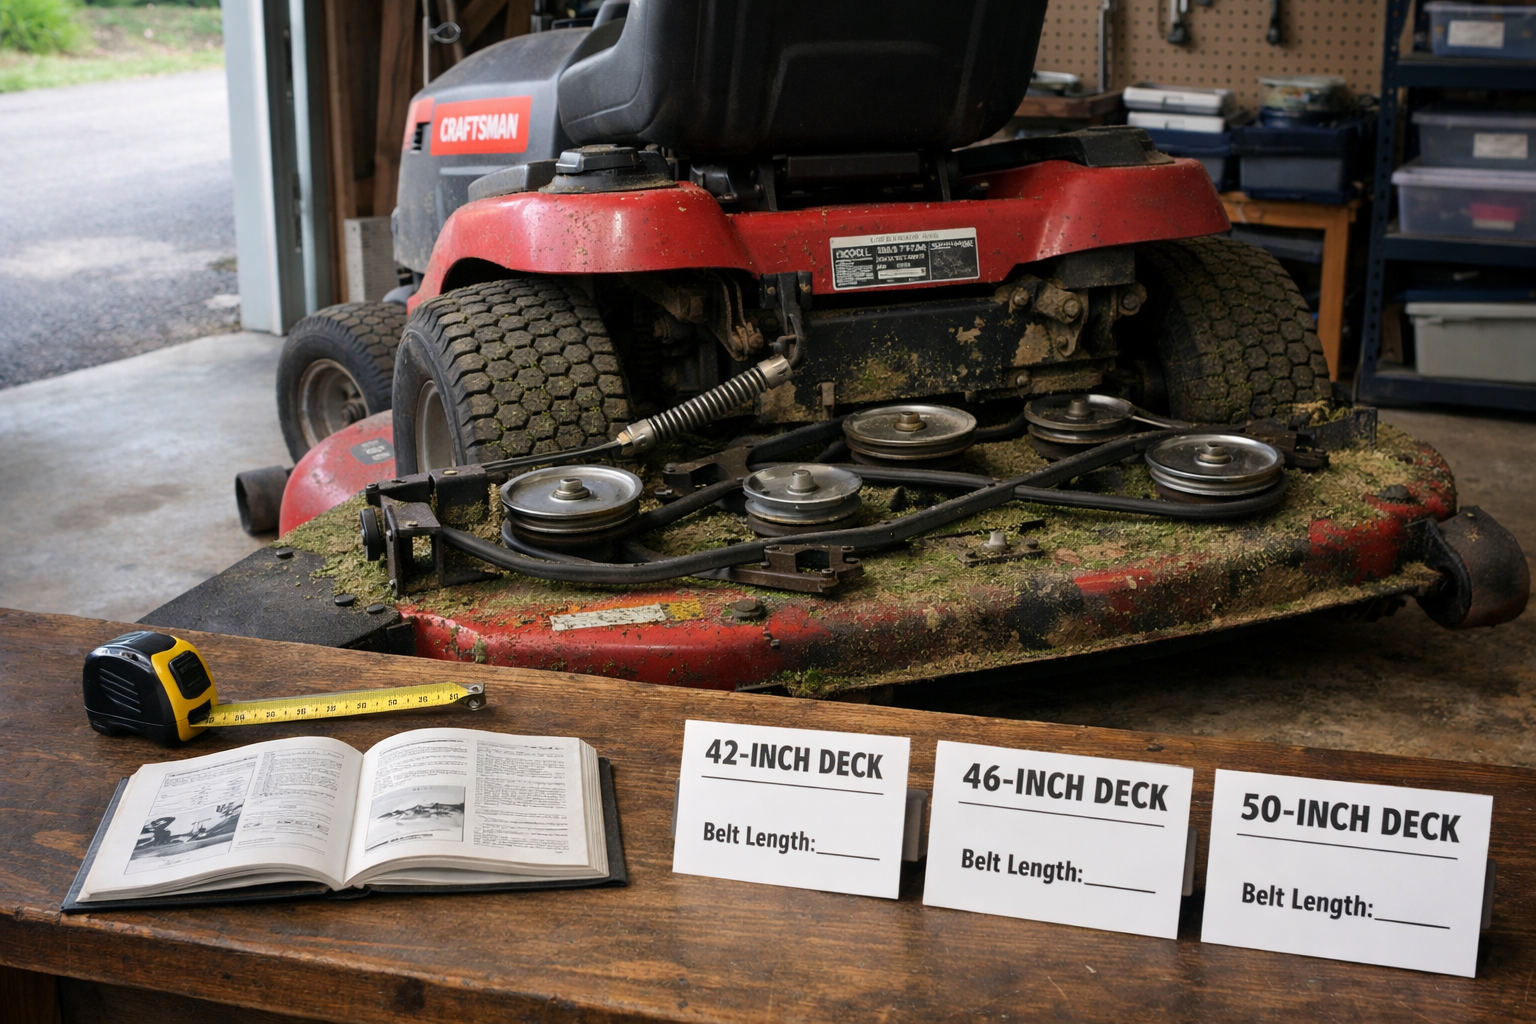
A 42-inch deck belt is shorter and routes tighter around the spindle pulleys than a 46-inch or 48-inch setup. Swap diagrams between them and the belt will either sit too loose (and slip off the pulley lip) or run too tight and burn up the idler bearing in a season.
Drivetrain Type Changes the Whole Layout
Gear-drive transmissions use a simpler belt path from the engine pulley straight back. Hydrostatic transmissions add another pulley and a different tensioning arm, which changes the entire routing picture. Mixing these up is one of the most common mistakes I see people make when they just search “Craftsman belt diagram” and grab the first image.
Find Your Model Number Before You Touch the Belt
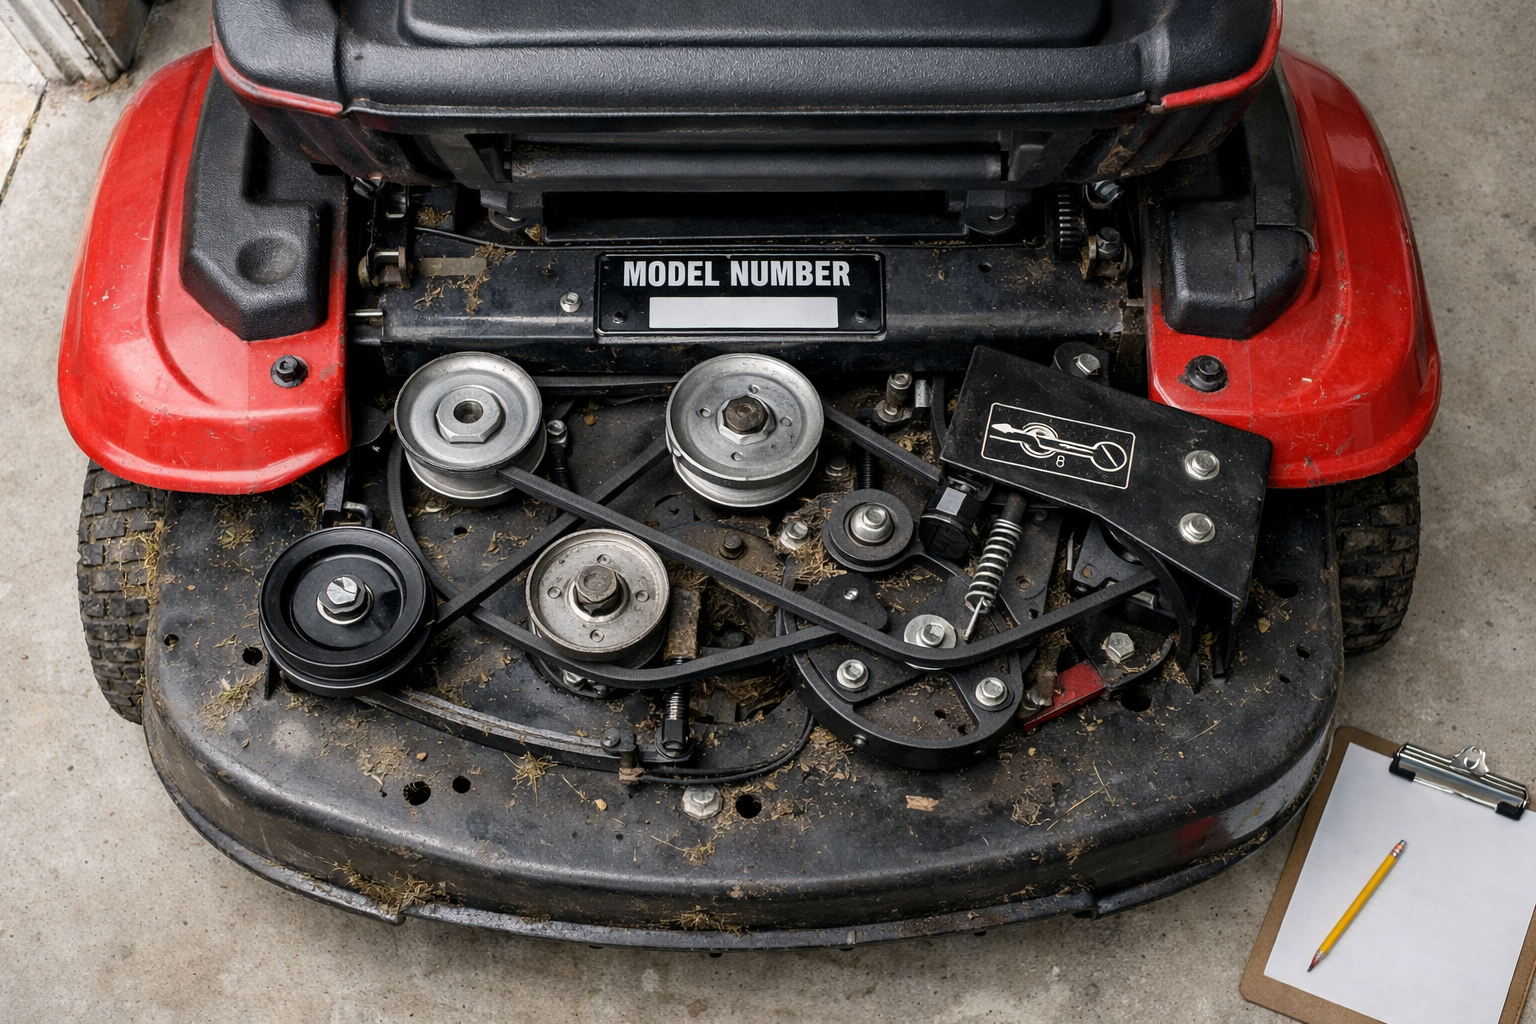
Your model number is the single most important piece of information here — more useful than any photo you’ll find online. On most riding mowers, it’s on a decal under the seat, on the rear fender, or on the frame near the seat hinge.
Craftsman model numbers usually run 11 digits (something like 247.XXXXXX or 917.XXXXXX depending on the era). Once you’ve got that number, Sears PartsDirect and the Craftsman parts lookup on the manufacturer’s site will show the exact belt part number and often the official routing diagram for that specific machine.
A parts diagram tied to your exact model number is the only diagram guaranteed to match your pulley layout — a diagram from a different deck size is a guess, not a fix.
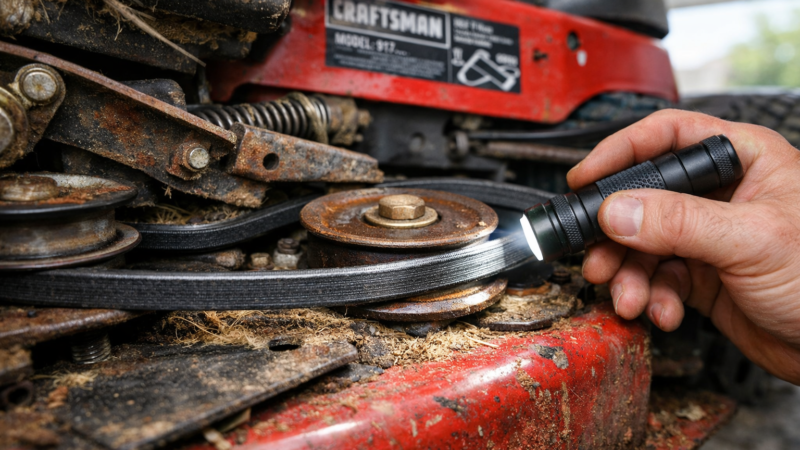
Here’s the part almost nobody checks first: your mower already has the diagram on it. Most Craftsman decks and frames carry a small routing decal near the belt guard or on the underside of the deck shell. It’s stamped right there in faded print, showing the exact path for that deck. Before you go searching online, flip the mower over or peek under the seat pan. If that decal is legible, trust it over anything you pull from a search enger.
Reading the Routing: Idler, Engine, and Transmission Pulleys
Every belt diagram is really just three reference points: where the belt leaves the engine, how it wraps the idler, and where it lands on the transmission or deck pulley. Get those three points right and the rest is just tracing the line.
Deck Belt vs. Drive Belt: Two Different Jobs
The deck belt spins the mower blades. The drive belt (also called the transmission belt) sends power from the engine to the rear wheels so the mower actually moves. These are separate belts, separate pulleys, and separate diagrams — confusing the two is a common troubleshooting dead end. If your blades spin fine but the mower won’t move, you’re chasing the drive belt, not the deck belt.
The Idler Pulley Sets Your Tension
The idler pulley is spring-loaded and swings into the belt when you engage the clutch or drive pedal. Correct spring tension usually applies somewhere between 15 and 25 pounds of pull, though the exact spec varies by model — check your owner’s manual for the number. Too loose and the belt slips under load; too tight and it wears the idler bearing prematurely.
V-Belt vs. Serpentine Routing
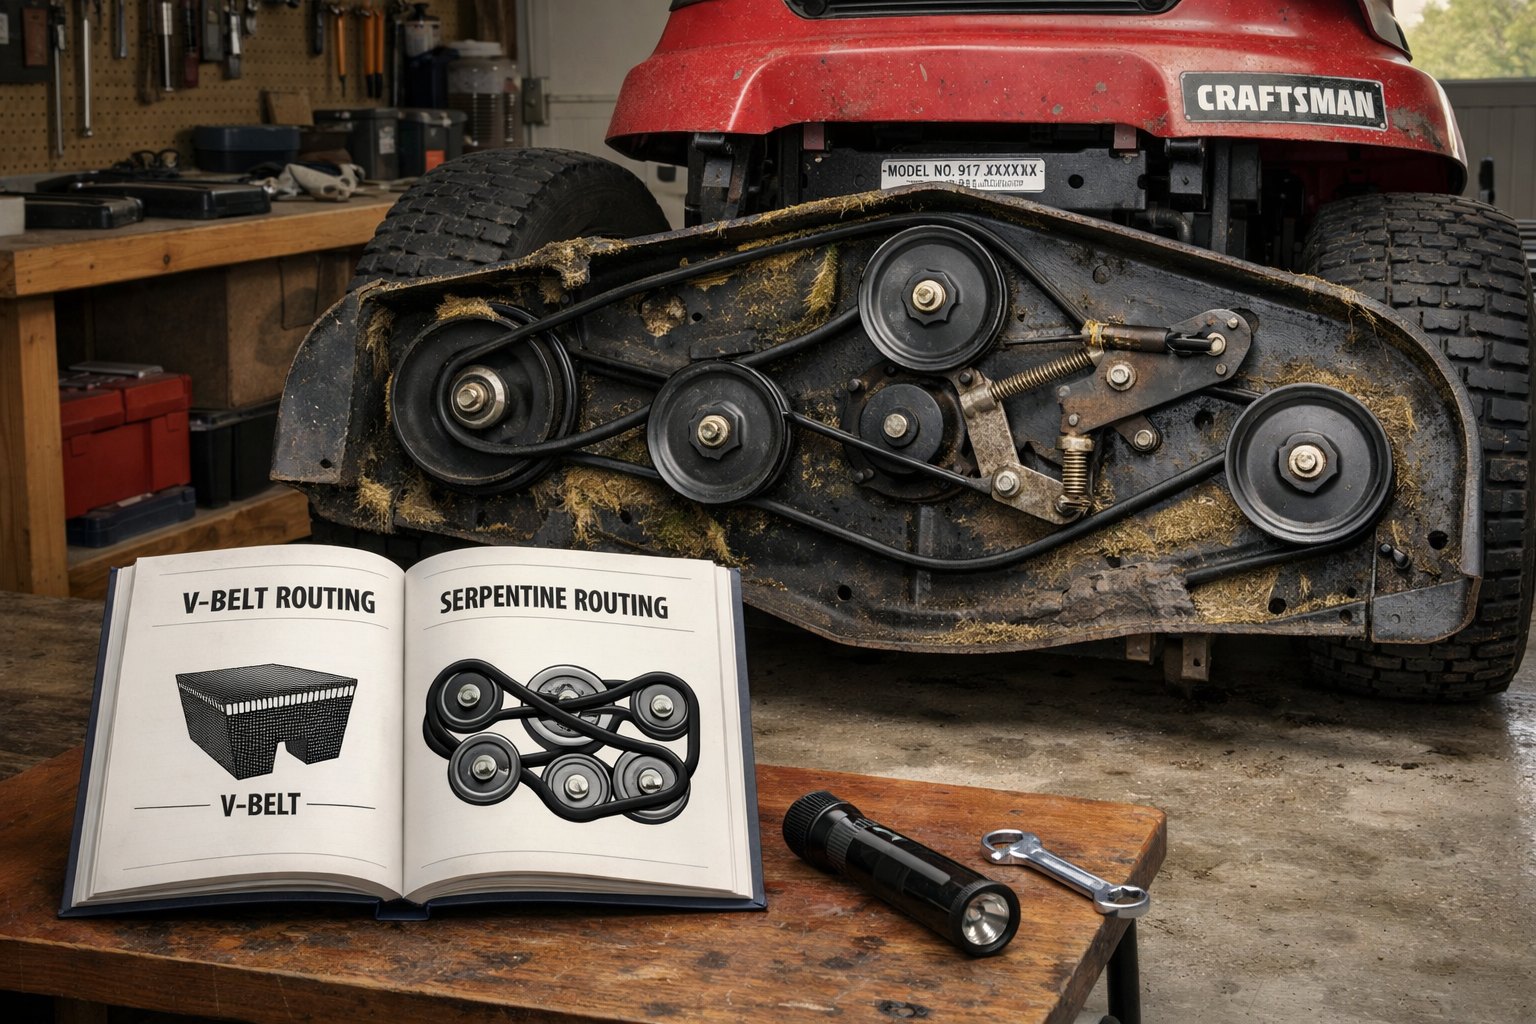
Most Craftsman riding mowers use a single V-belt drive belt, not a serpentine belt like you’d find on a car engine. The V-belt sits in a single groove around each pulley. If your diagram shows multiple parallel grooves or a belt weaving through more than three pulleys, double-check you’re not looking at a deck belt diagram by mistake.
Replacing the Drive Belt: A Practical Walkthrough
Budget about 45 minutes to an hour for a first-time replacement, longer if the mower deck needs to come down first. Here’s the general sequence that applies across most Craftsman riding mower models:
Park on flat ground, set the parking brake, and disconnect the spark plug wire.
Raise or remove the mower deck according to your manual’s deck-removal steps.
Release tension on the idler pulley by hand or with a pry bar, and slide the old belt off the pulleys.
Compare the old belt’s part number (stamped on the belt itself) to the one listed for your model — belt part numbers typically run 5 to 7 digits.
Route the new belt following the decal or your model-specific diagram, starting at the engine pulley and working back.
Seat the belt fully in each pulley groove before releasing the idler tension.
Reinstall the deck, reconnect the spark plug, and test-run in neutral before mowing.
A worn or slipped belt usually shows itself early: a burning rubber smell, visible glazing or cracking on the belt’s sidewall, or the wheels bogging down on hills when they used to power through fine. Catching those signs before the belt snaps saves you from being stuck mid-lawn with a dead mower.
Belt Specs by Common Deck Size
Exact belt lengths vary by model year, so always confirm against your specific part number, but here’s a general sense of what changes across deck sizes.
Deck Size
Typical Drivetrain
Idler Tension Range
Belt Type
42-inch
Gear-drive
15-20 lbs
Single V-belt
46-inch
Gear-drive or hydrostatic
18-22 lbs
Single V-belt
48-inch
Hydrostatic
20-25 lbs
Single V-belt
54-inch
Hydrostatic
20-25 lbs
Single V-belt
For anyone working through a specific model that isn’t behaving like the manual suggests, model-specific troubleshooting write-ups on sites like themowersguide.com can save you from cross-referencing three different generic diagrams that don’t quite match your machine.
Frequently Asked Questions
Where is the belt routing diagram usually located on a Craftsman riding mower?
Check under the seat, on the rear fender, or on a decal stamped on the underside of the deck shell near the belt guard. That decal is model-specific and more reliable than a generic online image.
How do I know if I have the deck belt or the drive belt problem?
If the blades won’t spin, it’s the deck belt. If the blades spin but the mower won’t move under power, the drive (transmission) belt is the culprit — they’re separate systems with separate routing.
Can I use a diagram from a different deck size if I can’t find mine?
No. A 42-inch deck diagram won’t match a 46-inch or 48-inch layout, and the mismatched tension usually causes the belt to slip off or wear out within hours of driving the mower.
Honda doesn’t make lawn mowers for the U.S. residential market anymore, so every “Honda mower” you see is really another brand’s deck bolted to a Honda engine. That distinction matters more...
Find a model number stamped on the frame near the seat or on the engine shroud, and you’re halfway to fixing whatever’s wrong with your Ford lawn mower. Ford built lawn...
3 October 2026
The Mowers Guide is reader-supported. When you buy through links on our site, we may earn an affiliate commission.





Comments are closed.